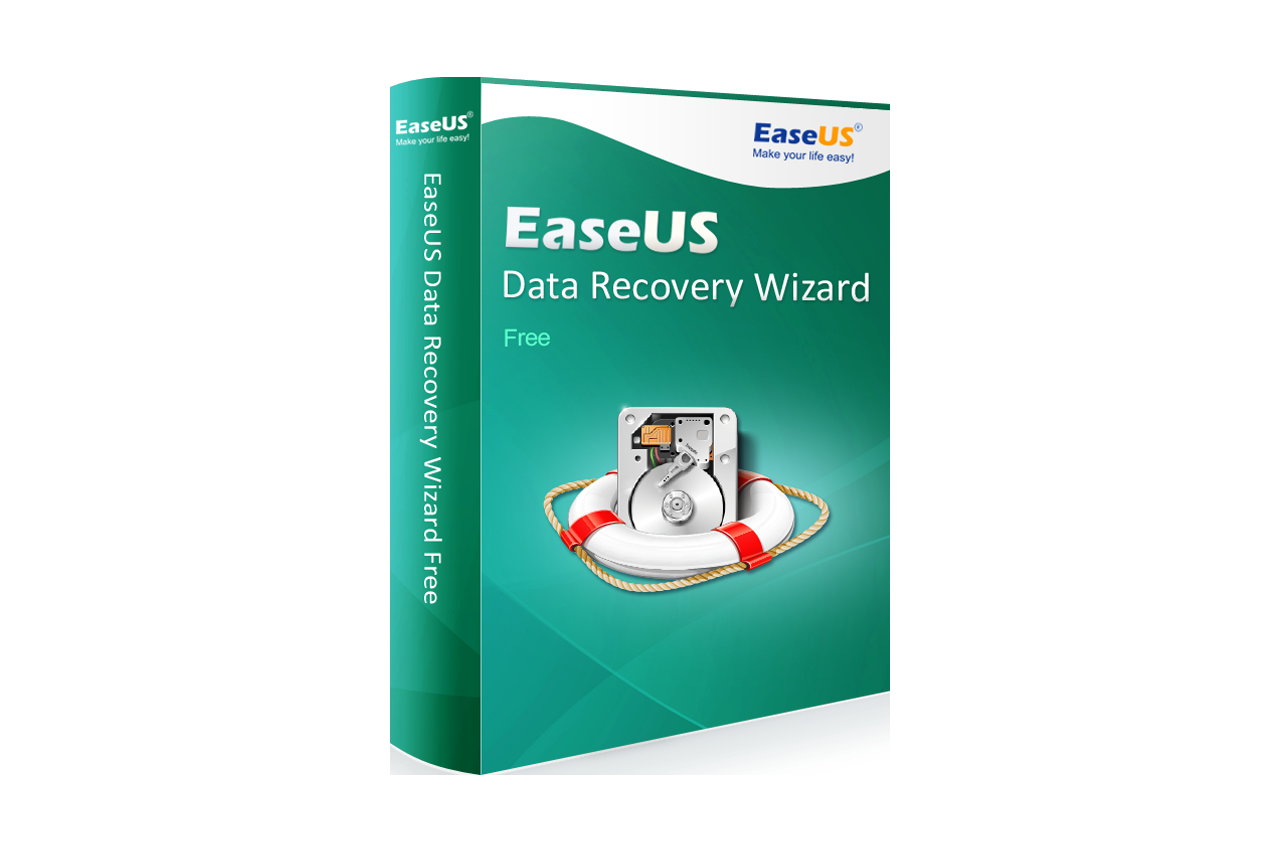
EaseUS Data Recovery Wizard Review

Take a look at a modern, digital camera today, and you’ll probably find it uses an SD card in order to save information. These small, convenient little disks can carry a lot of information on them, and can easily transfer your information from camera to computer. 
Unfortunately, SD cards also come with a drawback. They are small, fragile, and easily damaged. Forget the SD card in your pocket until you discover it in the washer, or scratch it up taking it in and out of the camera, and you may end up being unable to access your data.
Sometimes this is not a big deal, and you simply go and get another SD card. At other times, the loss of the priceless pictures or other information on that card is enough to leave you scrambling to look up SD card recovery on Google.
If you looked, you might have a bit of sticker shock. SD card recovery can cost as much as $3,000 to get your lost data back, depending on how many GB of data were stored. Even cheap options can run you $400, forcing you to make a decision between your savings and your memories.
Luckily, if the price of SD card recovery sends you running, there is another option. Free data recovery software. Instead of paying hundreds or thousands of dollars to get your lost data back, you can instead download a free data recovery software program and get your data back for free.

Comments

Popular posts from this blog

Information Security Analyst Interview Questions

Top 12 Information Security Analyst Interview Questions & Answers 1) Explain what is the role of information security analyst? From small to large companies role of information security analyst includes Implementing security measures to protect computer systems, data and networks Keep himself up-to-date with on the latest intelligence which includes hackers techniques as well Preventing data loss and service interruptions Testing of data processing system and performing risk assessments Installing various security software like firewalls, data encryption and other security measures Recommending security enhancements and purchases Planning, testing and implementing network disaster plans Staff training on information and network security procedures 2) Mention what is data leakage? What are the factors that can cause data leakage? The separation or departing of IP from its intended place of storage is known as data leakage.  The factors that are respons...

Tr0ll 1.0 – Vulnhub CTF Challenge Walkthrough

  Tr0ll 1.0 is an intentionally vulnerable machine, which is more of a   CTF  like type than real world scenario. Nevertheless, this machine has its own difficulties and you can learn some new stuff from it. So, let’s start. Enumeration Phase Let’s first run  netdiscover  to find the IP of our machine. netdiscover -r 192.168.1.1/24 After that, we run our typical  nmap  scan to see the open ports in the machine. nmap -A -sS -Pn -vv [target] Great we see many interesting stuff here. First of all, there is an open  FTP  port and we can connect to it with  anonymous access .  Also there is an open  http  port, we will run a nikto scan for it. The  ssh  port will be valuable later. From the nikto scan we got an interesting  /secret/  folder. When we get inside, we can understand why the machine got this name. Nothing interesting here, as you can see. we got trolled Let’s connect ...

FartKnocker – Vulnhub CTF Challenge Walkthrough

Fart Knocker is a Boot2Root Challenge from TopHatSec Series and is available at  Vulnhub . This is a unique and interesting challenge that includes Packet Analysis and Port Knocking. In this walkthrough, I’ll be using Parrot Security OS but you can use any Linux distro you want. Start the Virtual machine and use Netdiscover to find its IP Address. Register this IP to your local DNS file “/etc/hosts”. sudo netdiscover -r [IP/subnet] sudo nano /etc/hosts Run a full port Nmap scan. There’s no port open except HTTP. Open this on your browser. Click on the link below, you’ll be prompted to download a file. This is a “pcap” file. when you open this file in Wireshark, you’ll see a knocking pattern on port no 7000, 8000, 9000, 7000, 8000. Apply TCP filter to see the pattern. Now, I’ll use a utility “knock” to knock these ports install Knockd sudo apt install knockd knock knock.local 7000 8000 9000 7000 8000 nmap -p- knock.local By running Nmap...